
MCP(Model Context Protocol)は、Anthropic社が2024年11月に発表し、オープンソース化したプロトコルです。大規模言語モデルと外部ツールやデータソースとの連携を実現することを目的としています。MCPを利用することで、ユーザーは大規模言語モデルの出力を手動でコピーして実行する必要がなく、モデルが直接ツールに指示を出して対応するアクションを実行させることができます。
OceanBase MCP Serverは、MCPプロトコルを通じて大規模言語モデルとOceanBaseデータベースとの連携を提供し、SQL文を実行して開発者が迅速にプロトタイプアプリケーションを構築できるよう支援します。
Qoderは、AI機能を統合したコードエディタで、Windows、macOS、Linuxをサポートしています。本記事では、QoderにOceanBase MCP Serverを接続し、データベースに基づいてFastAPIスタイルのRESTful APIプロジェクトを迅速に生成する方法を紹介します。
前提条件
環境に利用可能なトランザクション型(MySQL)のクラスタインスタンスがあります。
環境に使用可能なMySQL互換モードのテナント、MySQLデータベース、およびアカウントが既に存在し、データベースアカウントに読み書き権限が付与されています。作成が必要な場合は、詳細については アカウントの作成 および データベースの作成(MySQL専用) をご参照ください。
プロジェクト管理者またはインスタンス管理者ロールを持ち、プロジェクト内のインスタンスに対する読み書き操作を実行できます。権限がない場合は、組織管理者に連絡して権限の追加を依頼してください。
Python 3.11以降のバージョン と対応する pip をインストールしています。マシンのPythonバージョンが低い場合は、Minicondaを使用して新しいPython 3.11以降の環境を作成できます。詳細については、Minicondaインストールガイド をご参照ください。
Pythonパッケージマネージャー uv をインストールしています。
Qoder をダウンロードしてインストールし、初回使用時にアカウント登録またはログインを完了しています。
ステップ1:データベース接続情報を取得する
ドロップダウンリストから、IDに基づいて対象のクラスタインスタンスを選択します。
概要 ページに移動します。
接続をクリックし、接続文字列を取得 を選択します。
ポップアップウィンドウで、パブリックネットワークを使用 を選択します。
アクセスアドレスを取得し、現在のブラウザIPアドレスを追加 を選択します。
データベース関連情報を入力し、**接続文字列をコピー**します。
接続パラメータの説明は以下のとおりです:
host:OceanBaseデータベースの接続アドレス。port:OceanBaseデータベースの接続ポート。database:アクセスするデータベース名。user:テナント接続ユーザー名(一般的な形式はユーザー名@テナント名#クラスタ名)。password:アカウントのパスワード。
ステップ2:QoderでOceanBase MCP Serverを設定する
作業ディレクトリの作成
手動でQoderの作業ディレクトリを作成し、Qoderで開きます。例えば qoder-generate という名前を付けます。今後Qoderが生成するプロジェクトファイルはこのディレクトリに保存されます。
MCP Server設定ページを開く
Qoderの左上隅にあるユーザーアイコンをクリックするか、ショートカットキーを使用します:
- macOSの場合、ショートカットキー:
⌘ + ⇧ + , - Windowsの場合、ショートカットキー:
Ctrl + Shift + ,
Qoder Settings に入ったら、左側のナビゲーションペインで MCP Server をクリックします。

MCP Serverの追加設定
Add をクリックし、OceanBase MCP Serverの設定を入力します。例:
{
  "mcpServers": {
    "oceanbase": {
      "command": "uvx",
      "args": [
        "--from", "oceanbase-mcp", "oceanbase_mcp_server"
      ],
      "env": {
        "OB_HOST": "***",
        "OB_PORT": "***",
        "OB_USER": "***",
        "OB_PASSWORD": "***",
        "OB_DATABASE": "***"
      }
    }
  }
}
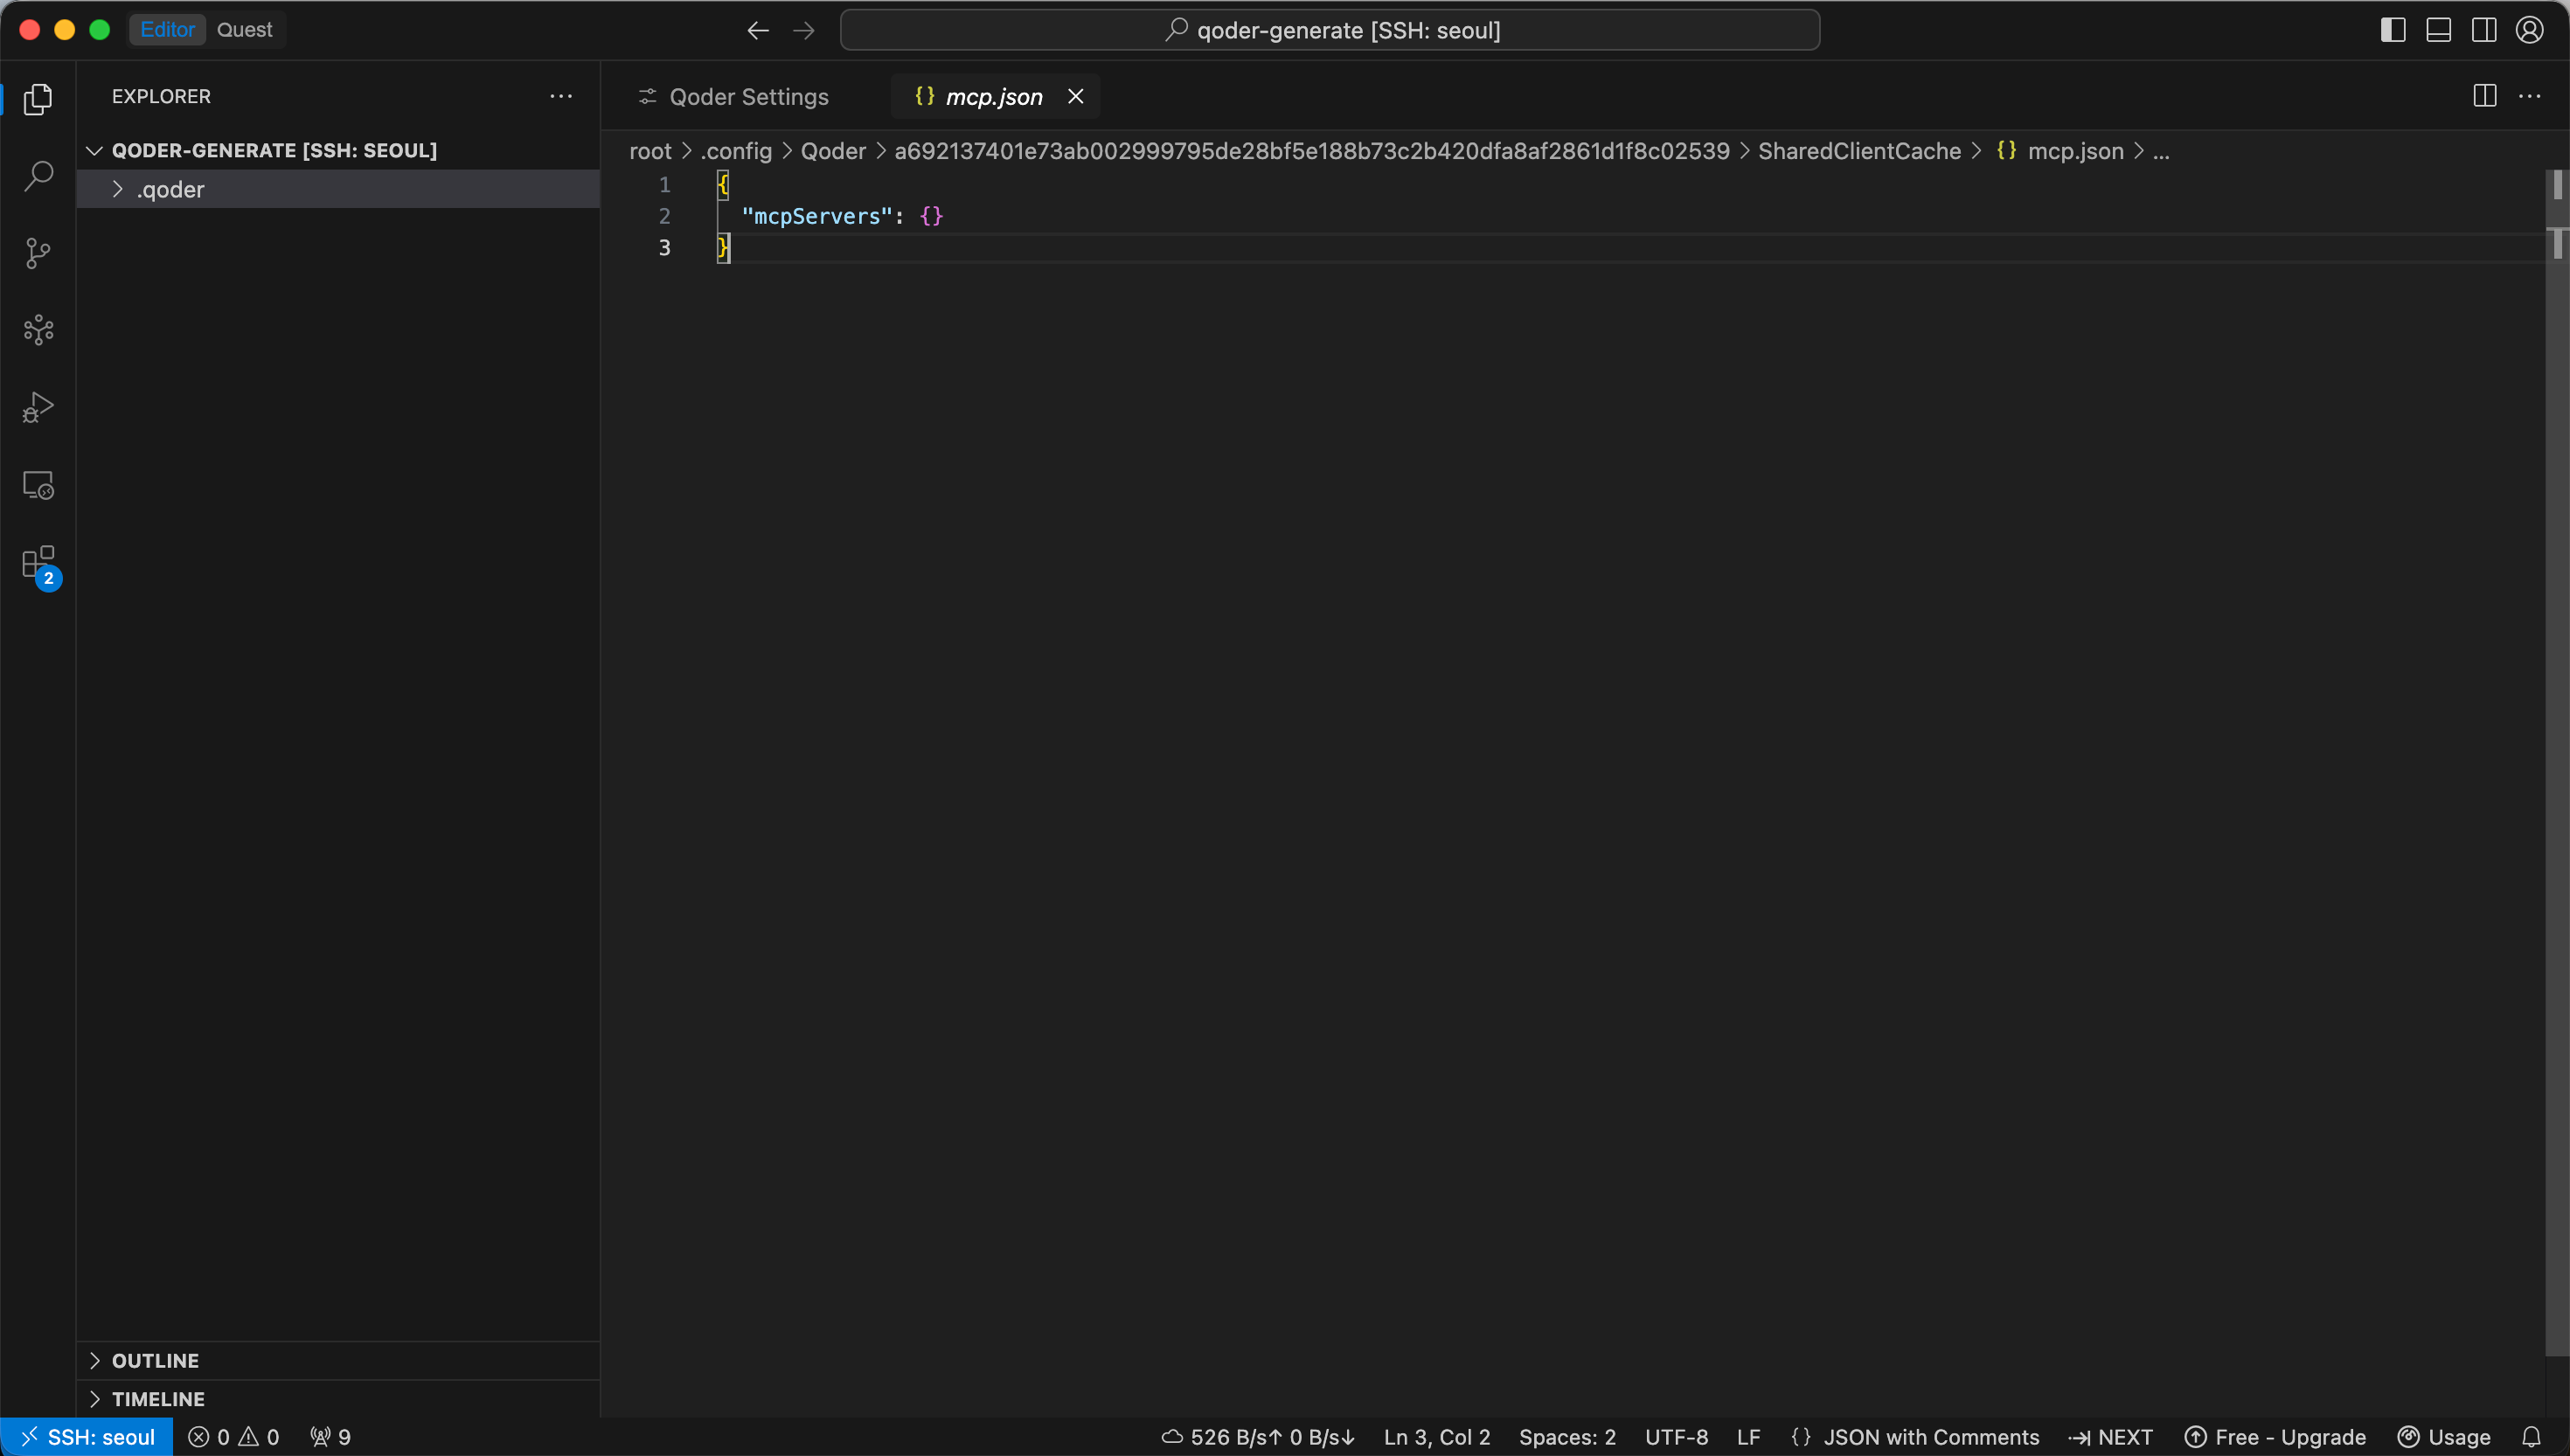
以下のパラメータをご自身のデータベース情報に置き換えてください:
OB_HOSTOB_PORTOB_USEROB_PASSWORDOB_DATABASE
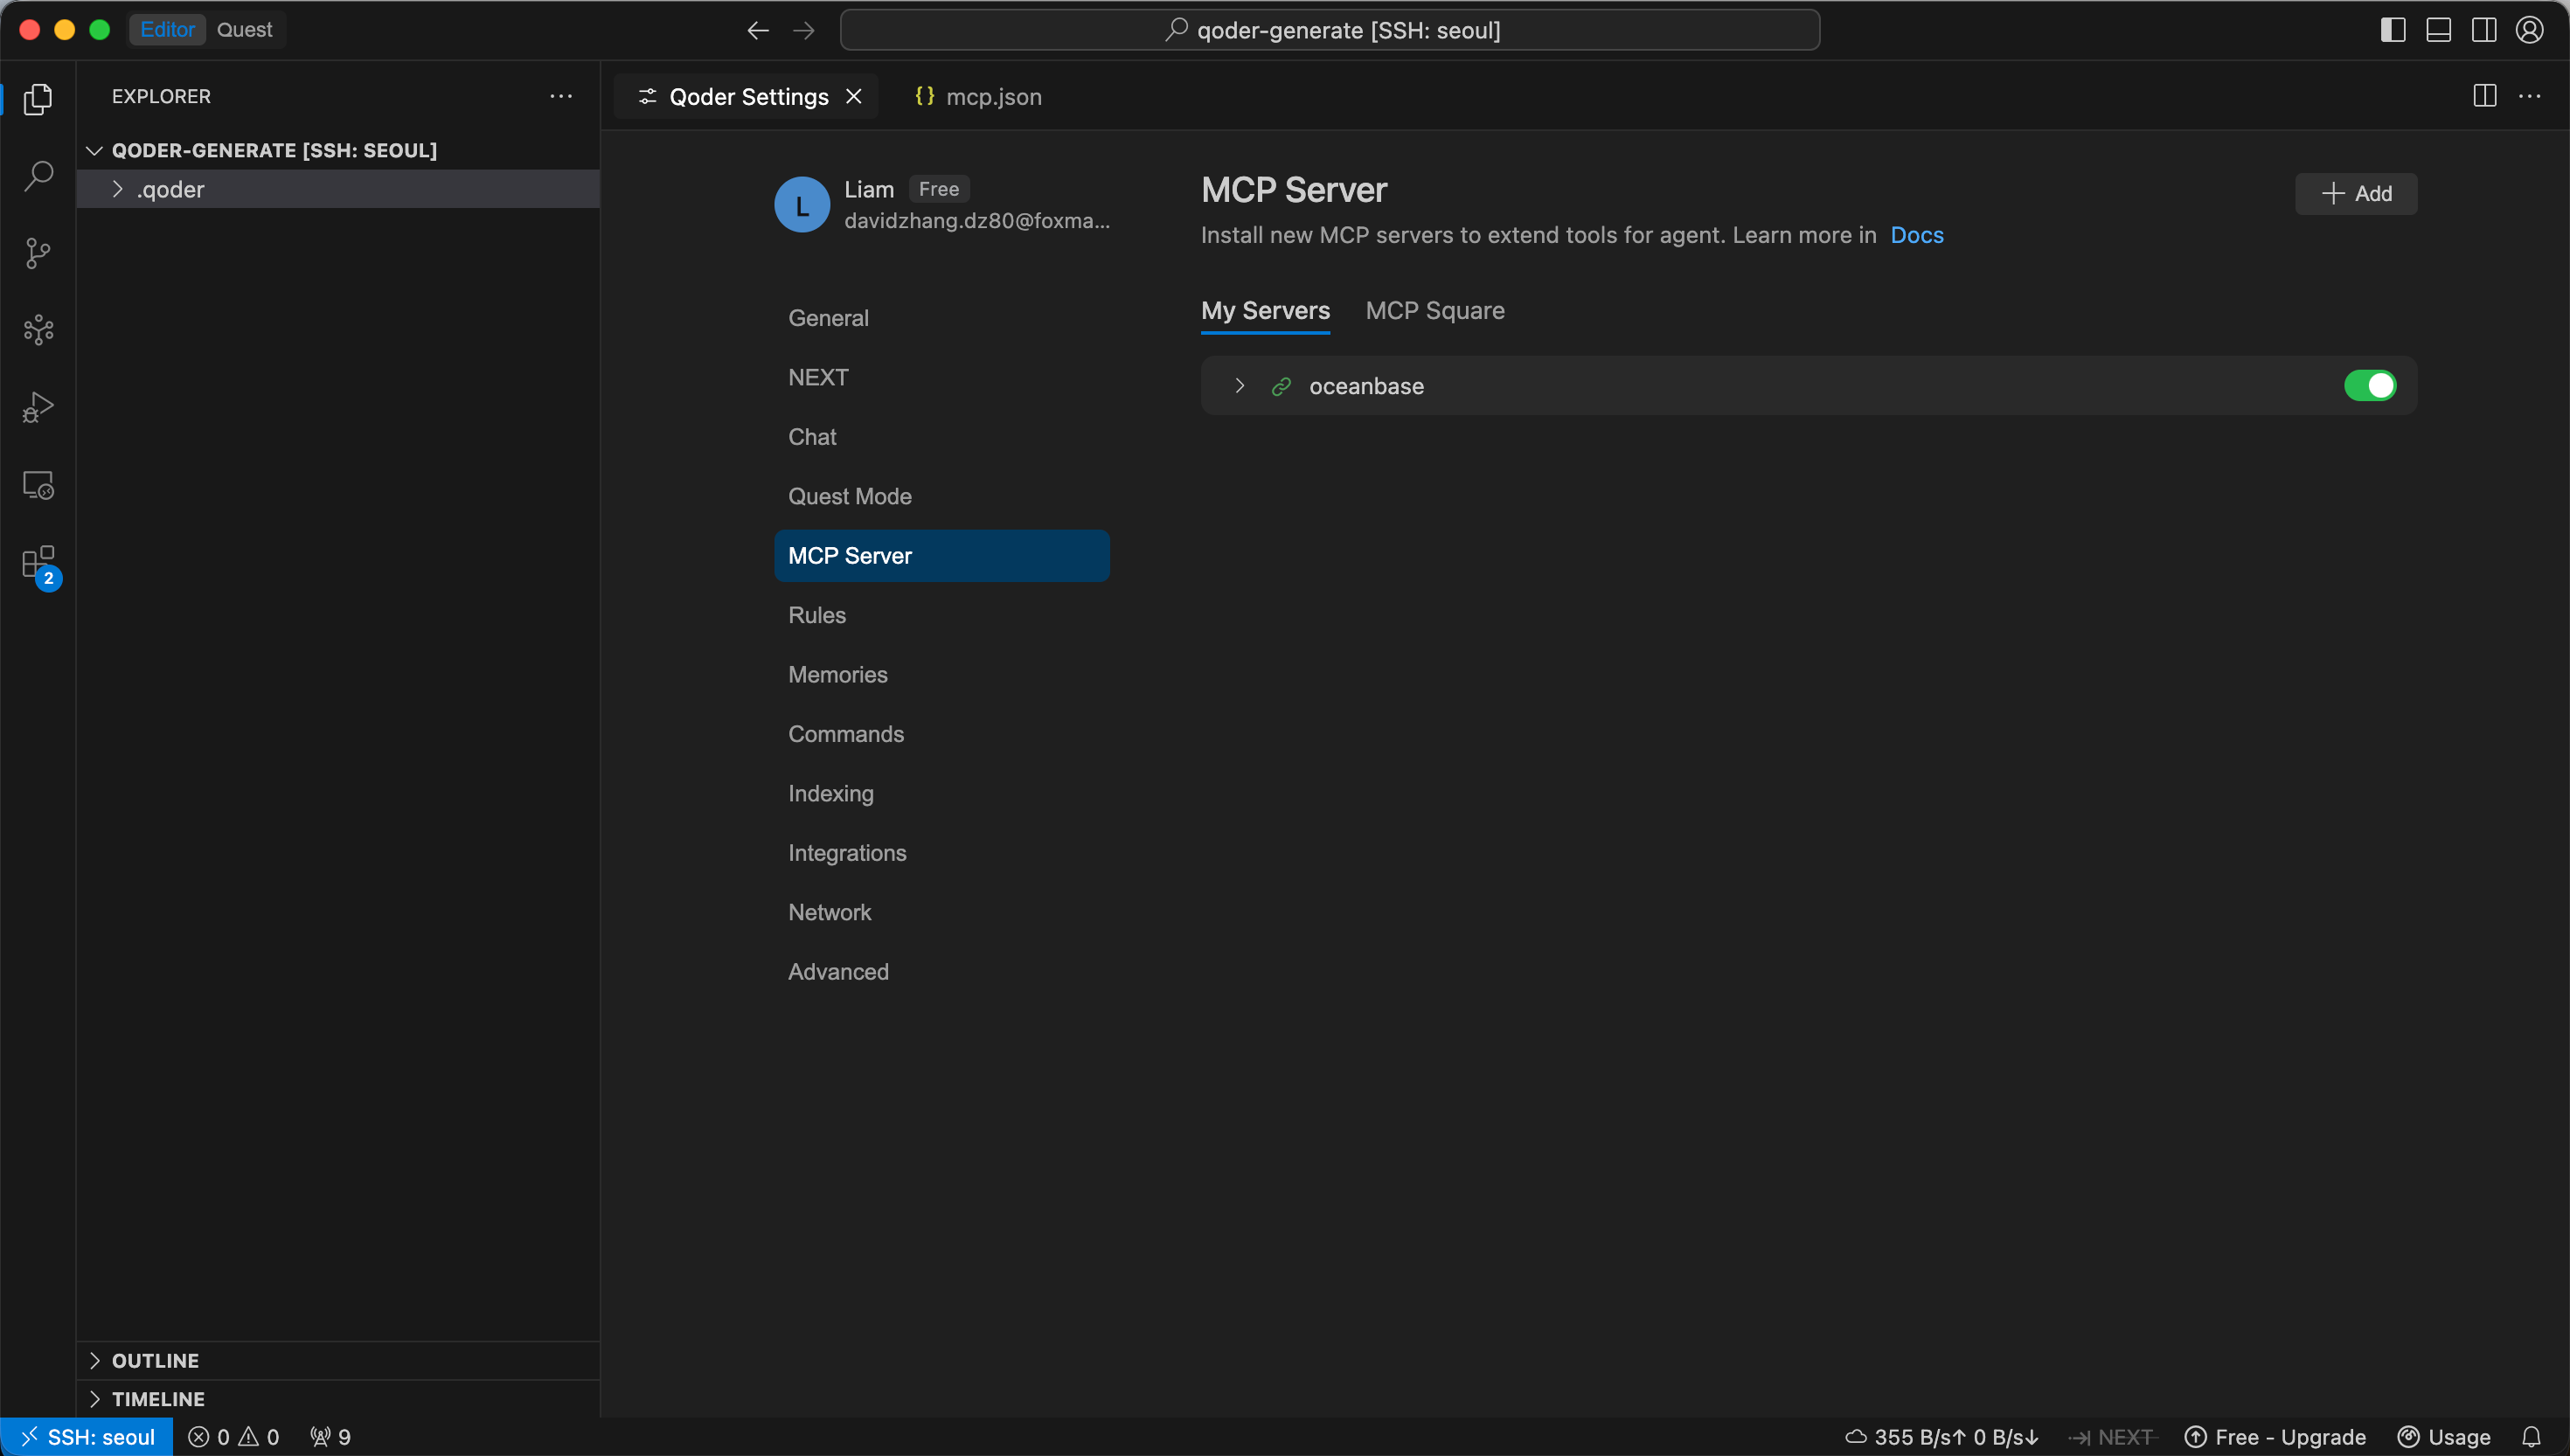
保存後、My Servers リストにリンクアイコンが表示されれば、設定は成功です。
MCP接続のテスト
Qoderダイアログボックスにプロンプトを入力します。例:
test 庫中有多少張表?
正しい結果が返されれば、QoderがOceanBase MCP Server経由でデータベースに正常にアクセスできていることを意味します。
ステップ3:Qoderを使用してFastAPIプロジェクトを生成する
FastAPIを使用して、RESTful APIスタイルのプロジェクトを迅速に作成できます。FastAPIはPythonのWebフレームワークで、RESTful APIを素早く構築できます。
サンプルテーブルの作成
Qoderダイアログボックスにプロンプトを入力します:
customerテーブルを作成してください。主キーはIDで、name、age、telephone、locationの各フィールドを含めてください。
テストデータの挿入
プロンプトを入力し続けます:
customerテーブルに10件のデータを挿入します。
RESTful APIコードの生成
プロンプトを入力して、Qoderにcustomerテーブルに基づくFastAPIプロジェクトを生成させます:
FastAPIプロジェクトを作成し、customerテーブルに基づいたRESTful APIを生成します。
コード生成が完了したら、Accept をクリックして生成ファイルを受け入れて保存します。
仮想環境の作成と依存関係のインストール
プロジェクトディレクトリで以下のコマンドを実行し、uvパッケージ管理ツールを使用して仮想環境を作成し、依存パッケージをインストールします:
cd fastapi_customer_api
uv venv
source .venv/bin/activate
uv pip install -r requirements.txt
データベース接続の設定
プロジェクトディレクトリで.envファイルを作成または更新し、データベース接続情報を記述します:
DB_HOST=your_host
DB_PORT=3306
DB_USER=your_user
DB_PASSWORD=your_password
DB_NAME=test
FastAPIサービスの起動
以下のコマンドを実行してプロジェクトを起動します(実際のエントリーファイル名に合わせて調整してください):
uvicorn main:app --reload
APIの検証
サービスが起動した後、以下の方法で検証できます:
- `http://127.0.0.1:8000/docs``にアクセスしてSwaggerドキュメントを確認します。
curlまたはPostmanを使用してCRUDインターフェースを呼び出し、結果を検証します。
例えば、全顧客を照会する場合:
curl "http://127.0.0.1:8000/customers"
上記のすべての手順を完了すると、Qoderが生成し、OceanBaseデータで動作するFastAPI RESTful APIプロジェクトを取得します。これにより、customer テーブルに対する追加、削除、更新、検索などの一般的な操作を実行できるようになります。
付録:RESTful APIの完全なコード例
追加、削除、変更、検索のためのRESTful APIが正常に生成された後のコード例は以下のとおりです:
from fastapi import FastAPI, HTTPException, Depends
from pydantic import BaseModel
from typing import List, Optional
import pymysql
import os
from dotenv import load_dotenv

# 環境変数を読み込む
load_dotenv()

# データベース接続設定
DB_CONFIG = {
    'host': os.getenv('DB_HOST', 'localhost'),
    'port': int(os.getenv('DB_PORT', 2883)),
    'user': os.getenv('DB_USER', 'root'),
    'password': os.getenv('DB_PASSWORD', ''),
    'database': os.getenv('DB_NAME', 'test'),
    'charset': 'utf8mb4'
}

# Pydanticモデル
class CustomerBase(BaseModel):
    name: str
    age: Optional[int] = None
    telephone: Optional[str] = None
    location: Optional[str] = None

class CustomerCreate(CustomerBase):
    pass

class CustomerUpdate(BaseModel):
    name: Optional[str] = None
    age: Optional[int] = None
    telephone: Optional[str] = None
    location: Optional[str] = None

class Customer(CustomerBase):
    ID: int

    class Config:
        from_attributes = True

class Database:
    def __init__(self):
        self.connection = None

    def connect(self):
        try:
            self.connection = pymysql.connect(**DB_CONFIG)
            return self.connection
        except Exception as e:
            raise HTTPException(status_code=500, detail=f"データベース接続失敗: {str(e)}")

    def disconnect(self):
        if self.connection:
            self.connection.close()

    def get_db(self):
        db = self.connect()
        try:
            yield db
        finally:
            self.disconnect()

# FastAPIアプリケーションの作成
app = FastAPI(
    title="Customer API",
    description="OceanBaseデータベースに基づく顧客管理RESTful API",
    version="1.0.0"
)

# データベースインスタンス
db = Database()

# APIルーティング
@app.get("/")
async def root():
    return {"message": "Customer APIをご利用いただきありがとうございます", "version": "1.0.0"}

@app.get("/health")
async def health_check():
    try:
        connection = db.connect()
        with connection.cursor() as cursor:
            cursor.execute("SELECT 1")
            db.disconnect()
        return {"status": "healthy", "database": "connected"}
    except Exception as e:
        return {"status": "unhealthy", "database": f"error: {str(e)}"}

# すべての顧客の取得
@app.get("/customers", response_model=List[Customer])
async def get_customers(db_conn = Depends(db.get_db)):
    try:
        with db_conn.cursor() as cursor:
            cursor.execute("SELECT ID, name, age, telephone, location FROM customer")
            results = cursor.fetchall()

            customers = []
            for row in results:
                customer = Customer(
                    ID=row[0],
                    name=row[1],
                    age=row[2],
                    telephone=row[3],
                    location=row[4]
                )
                customers.append(customer)
            return customers
    except Exception as e:
        raise HTTPException(status_code=500, detail=f"クエリによる顧客リストの取得に失敗しました: {str(e)}")

# IDに基づいて顧客を取得する
@app.get("/customers/{customer_id}", response_model=Customer)
async def get_customer(customer_id: int, db_conn = Depends(db.get_db)):
    try:
        with db_conn.cursor() as cursor:
            cursor.execute(
                "SELECT ID, name, age, telephone, location FROM customer WHERE ID = %s",
                (customer_id,)
            )
            result = cursor.fetchone()

            if not result:
                raise HTTPException(status_code=404, detail="顧客は存在しません")

            return Customer(
                ID=result[0],
                name=result[1],
                age=result[2],
                telephone=result[3],
                location=result[4]
            )
    except HTTPException:
        raise
    except Exception as e:
        raise HTTPException(status_code=500, detail=f"顧客のクエリに失敗しました: {str(e)}")

# 新規顧客の作成
@app.post("/customers", response_model=Customer)
async def create_customer(customer: CustomerCreate, db_conn = Depends(db.get_db)):
    try:
        with db_conn.cursor() as cursor:
            sql = """
                INSERT INTO customer (name, age, telephone, location)
                VALUES (%s, %s, %s, %s)
            """
            cursor.execute(sql, (
                customer.name,
                customer.age,
                customer.telephone,
                customer.location
            ))
            db_conn.commit()

            # 挿入されたレコードのIDを取得する
            customer_id = cursor.lastrowid

            return Customer(
                ID=customer_id,
                name=customer.name,
                age=customer.age,
                telephone=customer.telephone,
                location=customer.location
            )
    except Exception as e:
        db_conn.rollback()
        raise HTTPException(status_code=500, detail=f"顧客作成失敗: {str(e)}")

# 顧客情報の更新
@app.put("/customers/{customer_id}", response_model=Customer)
async def update_customer(customer_id: int, customer: CustomerUpdate, db_conn = Depends(db.get_db)):
    try:
        # まず、顧客が存在するか確認する
        with db_conn.cursor() as cursor:
            cursor.execute("SELECT ID FROM customer WHERE ID = %s", (customer_id,))
            if not cursor.fetchone():
                raise HTTPException(status_code=404, detail="顧客は存在しません")

        # 更新ステートメントの構築
        update_fields = []
        values = []

        if customer.name is not None:
            update_fields.append("name = %s")
            values.append(customer.name)
        if customer.age is not None:
            update_fields.append("age = %s")
            values.append(customer.age)
        if customer.telephone is not None:
            update_fields.append("telephone = %s")
            values.append(customer.telephone)
        if customer.location is not None:
            update_fields.append("location = %s")
            values.append(customer.location)

        if not update_fields:
            raise HTTPException(status_code=400, detail="少なくとも1つのフィールドを更新する必要があります")

        values.append(customer_id)

        with db_conn.cursor() as cursor:
            sql = f"UPDATE customer SET {', '.join(update_fields)} WHERE ID = %s"
            cursor.execute(sql, values)
            db_conn.commit()

            # 更新後の顧客情報を返す
            cursor.execute(
                "SELECT ID, name, age, telephone, location FROM customer WHERE ID = %s",
                (customer_id,)
            )
            result = cursor.fetchone()

            return Customer(
                ID=result[0],
                name=result[1],
                age=result[2],
                telephone=result[3],
                location=result[4]
            )
    except HTTPException:
        raise
    except Exception as e:
        db_conn.rollback()
        raise HTTPException(status_code=500, detail=f"顧客の更新に失敗しました: {str(e)}")

# 顧客の削除
@app.delete("/customers/{customer_id}")
async def delete_customer(customer_id: int, db_conn = Depends(db.get_db)):
    try:
        with db_conn.cursor() as cursor:
            # まず、顧客が存在するか確認する
            cursor.execute("SELECT ID FROM customer WHERE ID = %s", (customer_id,))
            if not cursor.fetchone():
                raise HTTPException(status_code=404, detail="顧客が存在しません")

            # 顧客の削除
            cursor.execute("DELETE FROM customer WHERE ID = %s", (customer_id,))
            db_conn.commit()

            return {"message": f"顧客 {customer_id} を正常に削除しました"}
    except HTTPException:
        raise
    except Exception as e:
        db_conn.rollback()
        raise HTTPException(status_code=500, detail=f"顧客の削除に失敗しました: {str(e)}")

# 顧客の検索
@app.get("/customers/search/", response_model=List[Customer])
async def search_customers(
    name: Optional[str] = None,
    location: Optional[str] = None,
    min_age: Optional[int] = None,
    max_age: Optional[int] = None,
    db_conn = Depends(db.get_db)
):
    try:
        # クエリ条件を構築する
        conditions = []
        values = []

        if name:
            conditions.append("name LIKE %s")
            values.append(f"%{name}%")
        if location:
            conditions.append("location LIKE %s")
            values.append(f"%{location}%")
        if min_age is not None:
            conditions.append("age >= %s")
            values.append(min_age)
        if max_age is not None:
            conditions.append("age <= %s")
            values.append(max_age)

        # SQLクエリの構築
        if conditions:
            sql = f"SELECT ID, name, age, telephone, location FROM customer WHERE {' AND '.join(conditions]}"
        else:
            sql = "SELECT ID, name, age, telephone, location FROM customer"

        with db_conn.cursor() as cursor:
            cursor.execute(sql, values)
            results = cursor.fetchall()

            customers = []
            for row in results:
                customer = Customer(
                    ID=row[0],
                    name=row[1],
                    age=row[2],
                    telephone=row[3],
                    location=row[4]
                )
                customers.append(customer)
            return customers
    except Exception as e:
        raise HTTPException(status_code=500, detail=f"顧客検索失敗: {str(e)}")

if __name__ == "__main__":
    import uvicorn
    uvicorn.run(app, host="0.0.0.0", port=8000)